Why a Free CCTV Design Tool Makes System Planning Easier
I remember the first time I tried to plan a surveillance system for a small warehouse. I sat down with graph paper, a ruler, and a stack of datasheets that listed horizontal angles and focal lengths. After an hour I had something that looked reasonable on paper, but when the cameras went in, the coverage gaps were obvious. The loading dock had a blind spot behind a structural column, and the lens selection I had guessed at left the far aisle looking like a blurry tunnel. That experience taught me that good surveillance system design is about more than picking cameras off a spec sheet. It is about understanding field of view, megapixel resolution requirements, and how each camera's placement interacts with the real geometry of a space.
These days, that kind of planning does not have to start with a pencil. A free cctv design tool can take the guesswork out of the process, especially when you are juggling multiple camera types, varying lens selections, and the need to produce a clean client proposal at the end. The shift from manual drafting to browser-based planning has made the early stages of a project faster and more reliable.
What a Good Design Tool Should Cover
Not all planning software is created equal. Some tools are essentially digital graph paper: they let you draw boxes on a floor plan and call it done. A useful design tool goes deeper. It should let you specify the real dimensions of a room or outdoor area, place IP cameras with known sensor sizes and lenses, and simulate the resulting camera coverage map. That kind of feedback lets you see, before you run a single cable, whether your field of view actually covers the choke points you care about.
I have worked with projects where the difference between a good install and a mediocre one came down to lens selection. A 2.8 mm lens might cover a wide lobby but leave faces too small to identify at the far end. A 6 mm lens gives you better detail but narrows the field of view. Seeing those trade-offs on a coverage map saves time and avoids expensive callbacks. A free cctv design tool that models actual camera specs helps you make those decisions early.
From Camera Placement to a Full Bill of Materials
Once you are satisfied with the CCTV camera placement, the real work of system design begins. You need to think about the supporting infrastructure: how many PoE switch ports you need, where the NVR will live, and whether your cabling plan accounts for distance limits. A good tool helps you document these decisions so that when you hand the plan to an installer or submit it as part of a client proposal, nothing is left to memory.
I have seen proposals that looked professional but omitted critical details like the number of spare PoE switch ports or the bandwidth requirements for H.265 streams at high megapixel resolution. Those omissions can lead to change orders and unhappy customers. A structured design process forces you to think about the whole system, not just the cameras.
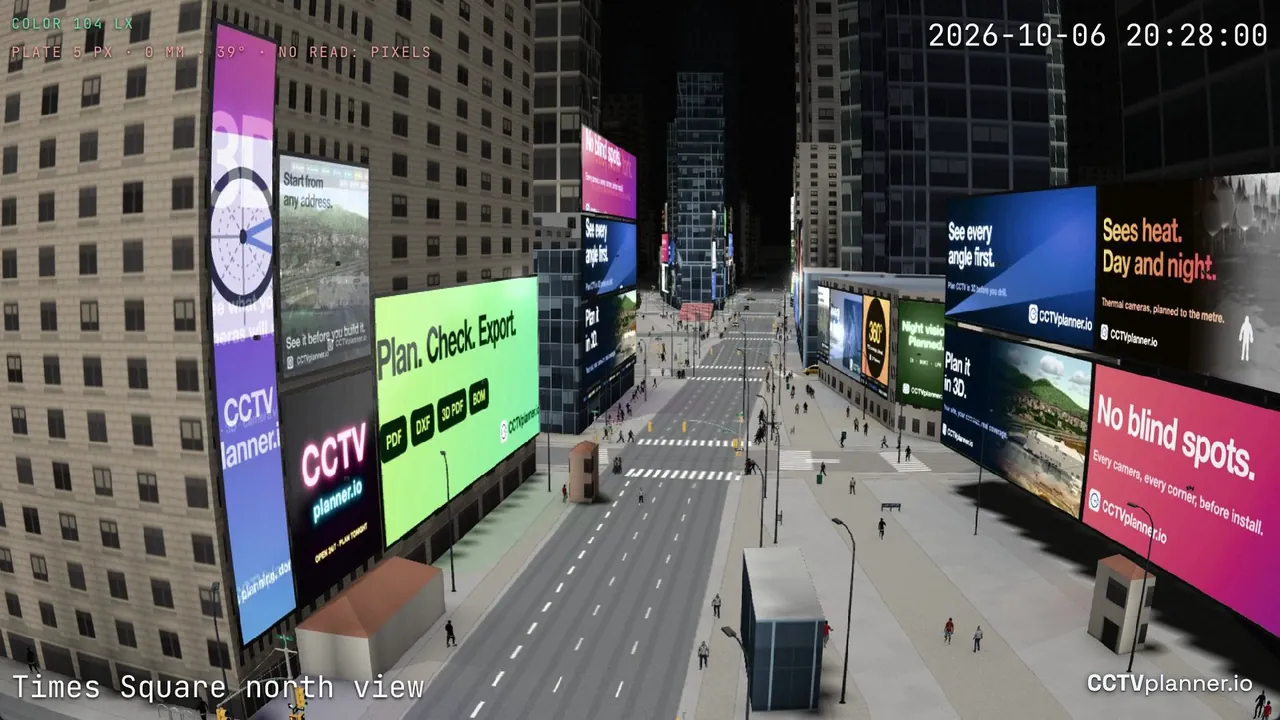
Many of the cameras I specify come from manufacturers like Hikvision, Dahua Technology, Axis Communications, and Bosch Security. Each brand has its own lens options, sensor sizes, and ONVIF compatibility quirks. A design tool that accounts for these differences helps avoid compatibility surprises later. For example, not all NVRs support all ONVIF profiles equally, and some older recorders struggle with H.265 streams at high frame rates. Catching those issues during the design phase is far cheaper than discovering them on site.
Real-World Constraints That Affect Design
Every site has constraints that do not show up on a floor plan. Lighting conditions are a common one. If you have ever tried to read a license plate in a parking lot with a camera that lacks D-WDR, you know how important dynamic range is. D-WDR compensates for scenes that have both bright sunlight and deep shadows, like a doorway that faces east in the morning. A good design tool lets you note those conditions and select cameras with the right features.
Another constraint is the physical network. Running Ethernet cable to a camera location fifty meters away is fine for a standard PoE switch, but if that run stretches past a hundred meters you need a midspan extender or a switch closer to the endpoint. I have had to rework entire camera placement plans because the original locations would have required cable runs longer than the spec allows. Catching that during design, rather than after the drywall is closed, saves everyone time.
Generating Client Proposals That Build Trust
When I present a design to a client, I want them to see that I have thought through the details. A camera coverage map is worth a thousand words. It shows exactly what will be visible and what will not. Clients appreciate honesty about coverage limits. If a corner of the lot will be dark at night, I would rather show that on the map than have them discover it after the system is installed.
Tools that generate a professional-looking client proposal directly from the design data are a huge time saver. They pull in the camera models, lens selections, and placement notes, and format them into a document that the client can review. Adding notes about video analytics capabilities, like motion detection zones or line-crossing alerts, can make the proposal more compelling. Many clients are not aware of what modern video analytics can do until you show them how it applies to their specific layout.
I have also found that including brand names like Kastle Systems or Milestone Systems in a proposal signals to the client that you are working with established technology. Kastle Systems is known for integrated security platforms, and Milestone Systems leads in open-platform VMS software. Mentioning these names, when relevant, adds credibility.

Why a Free Tool Can Be Better Than an Expensive One
There is a common assumption that free software must be limited. In the case of a free cctv design tool, that assumption is often wrong. The best free tools are built by people who understand the practical needs of installers and system designers. They strip away the features that look good in a demo but never get used in the field. What remains is a focused set of functions that cover the essential steps: laying out cameras, checking coverage, and producing the documents you need to sell and build the system.
I have used expensive CAD-based tools that required a day of training before I could place a single camera. I have also used simple web tools that let me upload a floor plan, drop cameras on it, and see the coverage in seconds. The free tool often wins because it respects my time.
That said, a free tool is only as good as its data. If it does not include up-to-date specs for the cameras you use regularly, you will end up entering numbers manually. Look for a tool that includes models from the manufacturers you work with most often: Hikvision, Dahua Technology, Axis Communications, Bosch Security. If it also supports ONVIF profiles and H.265 settings, you are in good shape.
Practical Tips for Getting the Most Out of a Design Tool
Here are a few things I have learned from using these tools on real projects:
- Start with an accurate floor plan. A rough sketch is fine for the initial layout, but you need correct dimensions before you can trust the coverage map. If you are working on a retrofit, take measurements yourself rather than relying on old drawings.
- Think about camera height. A camera mounted at 3 meters sees a different field of view than one at 4.5 meters. Most tools let you set the mounting height, and that changes the coverage shape significantly.
- Check the bandwidth budget. If you are planning twenty 8-megapixel cameras at 20 frames per second using H.265, make sure your PoE switch and NVR can handle the throughput. Some tools calculate this for you.
- Use the client proposal feature early. Show the client a draft of the coverage map and the equipment list before you finalize the design. Their feedback might change the camera placement or the lens selection, and it is easier to adjust at that stage.
- Do not forget about D-WDR and low-light performance. A camera that looks great in a showroom can fail in a real scene with mixed lighting. Note the lighting conditions on the design and select cameras that match.
Designing for the Future
Technology changes fast. The ONVIF profile G that was standard five years ago has been superseded by profiles that support more advanced analytics and metadata. H.265 is now common, but some systems still rely on H.264 for compatibility with older NVRs. When you design a system, try to leave room for upgrades. Choose a PoE switch with a few spare ports, an NVR that supports higher megapixel resolution than you need today, and cameras that can be upgraded to newer firmware. A good design tool should let you model these future scenarios without starting from scratch.
I have also started specifying cameras that support edge-based video analytics. Instead of sending all video to a central server for analysis, the camera itself can detect objects, count people, or trigger alerts. That reduces bandwidth and makes the system more resilient. When you are laying out a system with analytics in mind, the camera placement matters even more. You want the camera to have a clear, unobstructed view of the area where the analytics will run. A tool that shows the field of view and lets you overlay detection zones is invaluable for that kind of planning.
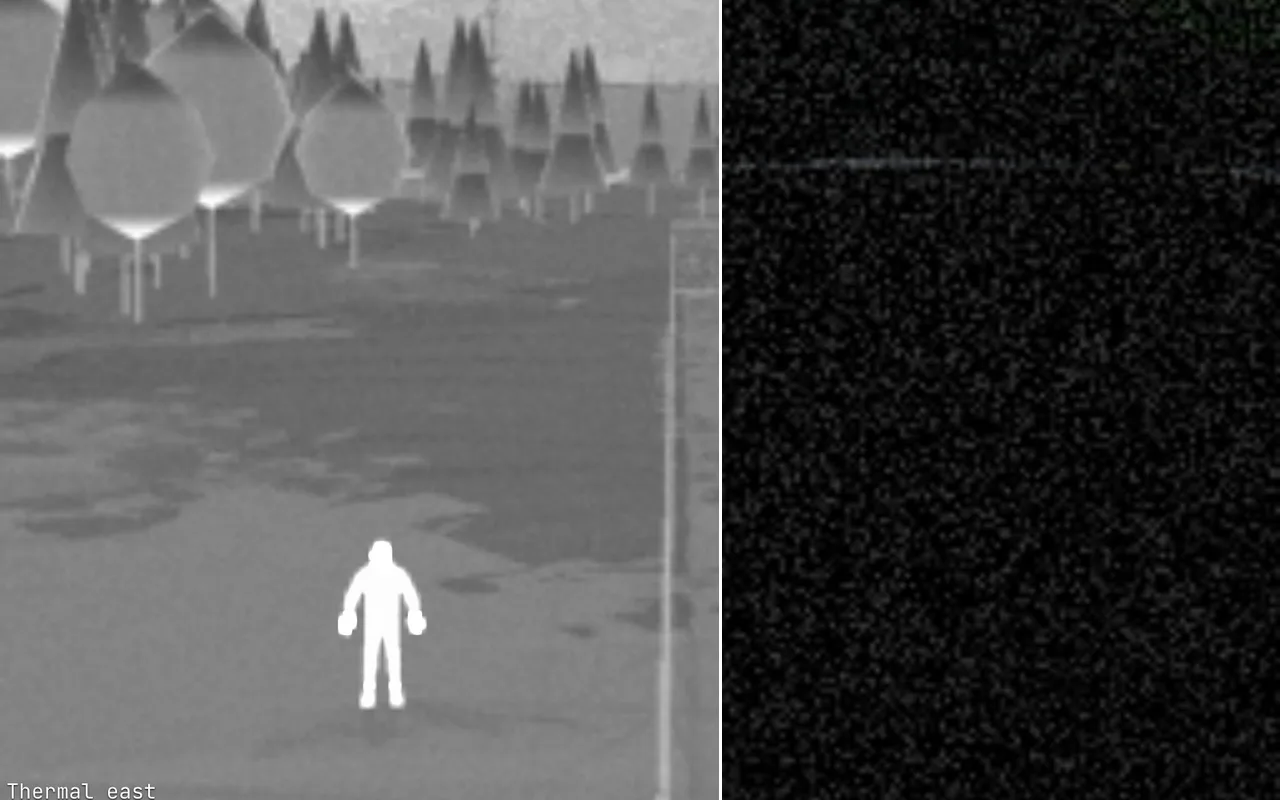
At the end of the day, the goal of surveillance system design is to deliver a system that works reliably, meets the client's needs, and stays within budget. A free cctv design tool that handles camera placement, lens selection, and coverage mapping makes that goal achievable. It does not replace experience or good judgment, but it removes a lot of the tedious calculation and guesswork. That leaves you free to focus on the parts of the job that actually require human intuition: understanding the client's risk profile, choosing the right technology mix, and ensuring the installation goes smoothly.
Whether you are designing for a small retail shop or a multi-building campus, the principles are the same. Know your field of view, choose your lenses carefully, document everything, and show the client what they are getting. A good tool is just a means to that end.